Jekyll is a simple, extendable, static site generator. You give it text written in your favorite markup language and it churns through layouts to create a static website. Throughout that process you can tweak how you want the site URLs to look, what data gets displayed in the layout, and more.
You can create your own blog website by:
Create an index.html or some pages in githup project named <your github username>.github.io, master branch. Or put index.html in another project(like ‘blog’) branch gh-pages, your domail will be <your github username>.github.io/blog.
Fork some good blog then add your own pages and config. Like here
GCC and Make (in case your system doesn’t have them installed, which you can check by running gcc -v,g++ -v and make -v in your system’s command line interface)
Jekyll on Windows
Installation via RubyInstaller
The easiest way to run Jekyll is by using the RubyInstaller for Windows.
Download and Install a Ruby+Devkit version from RubyInstaller Downloads. Use default options for installation.
Run the ridk install step on the last stage of the installation wizard. This is needed for installing gems with native extensions. You can find addtional information regarding this in the RubyInstaller Documentation
Open a new command prompt window from the start menu, so that changes to the PATH environment variable becomes effective. Install Jekyll and Bundler via: gem install jekyll bundler
Check if Jekyll installed properly: jekyll -v
That’s it, you’re ready to use Jekyll!
Jekyll on Mac
install rvm
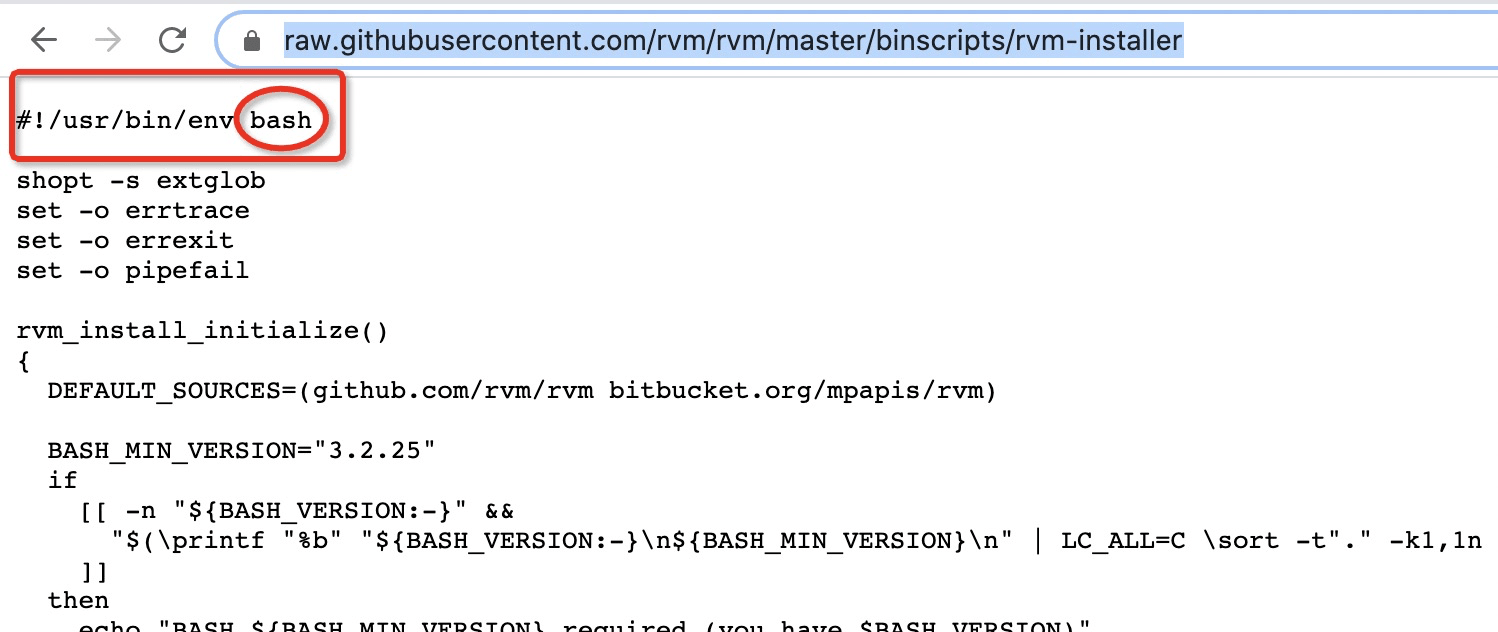
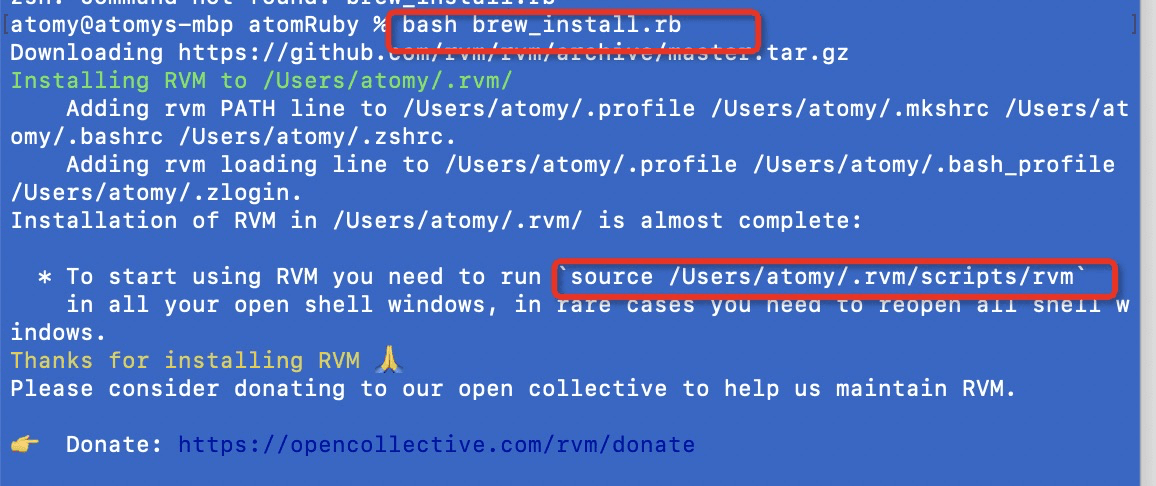
mac 内置了ruby, gem,但是内置的ruby 无法执行gem install jekyll安装jekyll, 通过下面的命令可以安装rvm(ruby的命令行管理工具).
安装ruby的方法有很多ruby-org
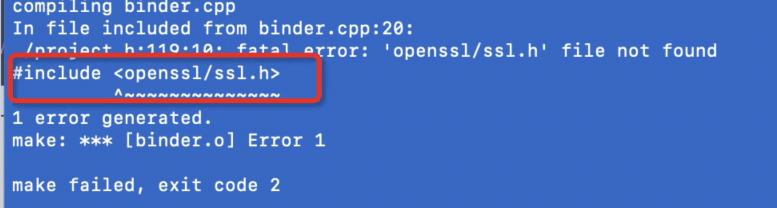
我在安装过程中遇到不少问题: 比如说curl: (7) Failed to connect to raw.githubuserconte, 网上有建议说可以通过https://www.ipaddress.com/ 网站查询 raw.githubuserconte 的常用ip, 并将对应映射配置在/etc/hosts 文件, 我尝试了没有用,网上还有其它方法 传送门。
+ root- index.html //homepage- _config.yml //global configuration (YAML)+ _posts //articles- year-month-day-articleTitle.extention(md/txt/html...) //force limite file name format+ _layouts //template- default.html //template file+ _include //also like template, usually store some public pages here like header.html, footer.html- head.html+ _data //usually store some data like navigation item- fileName.yml(like navigation.yml) //"site.data.fileName"(site.data.navigation) can get the file data, and you can use "for" read it.+ _plugins // store some plugins.+ assets //store img, css, js+ css- fileName.scss(like main.scss) //this file import files in folder _sass. for example:@import "index". The pages can add link and href redirect to the /assets/css/main.css, then we can get the stylesheet in index.scss+ _sass- fileName.scss(like index.scss)+ customerFolder+ collectionFolder //need config in _config.yml. Collections are similar to posts except the content doesn’t have to be grouped by date. for example (https://jekyllrb.com/docs/step-by-step/09-collections/):```yml// config in _config.yml+ collections:+ authors:-output:true|false //output a page for documents yes or not```then create a folder in the root of the site named `_*collection_name*`. In this case, `_authors`.+ _sites //after build, all generated pages was stored here
jekyll new project之后不能通过jekyll serve || bundle exec jekyll serve运行项目. 出现类似于gems/jekyll-4.2.0/lib/jekyll/commands/serve/servlet.rb:3:in require: cannot load such file -- webrick (LoadError) 错误。
this happens because webrick is no longer a bundled gem in Ruby 3.0. From https://www.ruby-lang.org/en/news/2020/12/25/ruby-3-0-0-released/:
The following libraries are no longer bundled gems or standard libraries. Install the corresponding gems to use these features.
```yml
sdbm
webrick
net-telnet
xmlrpc
Adding gem “webrick” to my Gemfile solves the problem, but Jekyll should include it in its gemspec.
```
Mac works fine but on Windows facing issue like Liquid Exception: Liquid error (line 13): invalid byte sequence in UTF-8 in sitemap.xml when we use jekyll-sitemap plugin. That’s maybe happened because we have Chinese file or folder name in our projcect. Rename the folder/file name by English character, or exclude this file/folder in _config.yml can solve this issue.
config in _config.yml
// config options https://jekyllrb.com/docs/configuration/options/// default configuration in _config.yml https://jekyllrb.com/docs/configuration/default/// Disable Disk Cachedisable_disk_cache:true// Listen on the given port.port:4000// Open the site's URL in the browser.open_url:true
Build
jekyll build - Builds the site and outputs a static site to a directory called _site. jekyll build --destination <destination> - 当前文件夹中的内容将会生成到目标文件夹中.
`jekyll build --source --destination ` - 指定源文件夹中的内容将会生成到目标文件夹中.
`jekyll build --watch` - 当前文件夹中的内容将会生成到 ./\_site 文件夹中,查看改变,并且自动再生成.
jekyll serve - Does the same thing except it rebuilds any time you make a change and runs a local web server at http://localhost:4000.
jekyll clean - Remove the _sites folder.
Three. How to code
Linquid sytax check more
1.1. Objects
Objects tell Liquid where to output content. They’re denoted by double curly braces: {{ and }}. For example: {{ page.title }}
1.2. Tags
Tags create the logic and control flow for templates. They are denoted by curly braces and percent signs: {% and %}.
a. for limit 控制循环次数 forloop.index下标从1开始,forloop.index0下标从0开始
{% for post in site.posts limit:10 %}{% endfor %}
b. if 辑“与或”分别是and,or
{% if 条件 %} 内容 1 {% elsif 条件 %} 内容 2 {% else %} 内容 3 {% endif %}
For Example:
  {% capture my_variable %}I am being captured.{% endcapture %}
  {{ my_variable }}
f. ‘case/when’
  {% assign handle = "cake" %}
  {% case handle %}
    {% when "cake" %}
      This is a cake
    {% when "cookie" %}
      This is a cookie
    {% else %}
      This is not a cake nor a cookie
  {% endcase %}
1.3. [Filters] (https://jekyllrb.com/docs/liquid/filters/)
Filters change the output of a Liquid object. They are used within an output and are separated by a |. For example:
{% include XXX %} 调用 _include 文件夹中 XXX 文件
{% include footer.html param=”value” %} 通过 include 标签传递参数
{{ include.param }} 调用上述放出传递的参数 Link to a post use the link tag to create a link in Markdown,
Front Matter(文件头部的 yaml 配置)
Front matter is a snippet of YAML which sits between two triple-dashed lines(---) at the top of a file. Front matter is used to set variables for the page.
You can set ‘title’, ‘layout’, ‘tags’,’ permalink’, etc. variables for the page here. for example: set permalink: /news/jekyll-update in the specify page, you can via site_url/news/jekyll-update to open this page.
pagination 分页
include the jekyll-paginate plugin in your _config.yml under plugins. then install it, like gem install jekyll-paginate
and add paginate plugins setting as below:
plugins:[jekyll-paginate]//plugin name. Also can write as:plugins:- jekyll-paginatepaginate:3 //item count on each page.
Pagination only works within HTML files
Pagination does not work from within Markdown files from your Jekyll site. Pagination works when called from within the HTML file,
named index.html, which optionally may reside in and produce pagination from within a subdirectory, via the paginate_path configuration value.
在子页中添加分页功能:
在根目录下新建一个文件夹 blogs,在该文件夹中新建一个文件index.html(文件名固定,改为其他不能达到效果),index.html 文件中添加获取 list 的循环已经分页代码; _config.yml中设置 paginate_path: "/blogs/page:num/",build 之后对应的页面会生成在_site\blogs中:
paginate_path: “/blogs/page:num/” /files generate to folder “blogs” and the subfolder is page2,page3….page:num.
Jekyll does not generate a ‘page1’ folder/
Setting a permalink in the front matter of your blog page(blogs/index.html) will cause pagination to break. Just omit the permalink.
Add Comment
1. Gitalk comment
a. Login github,navigate to Setting/Developer settings,create a OAuth App,fulfill application name,homepage url,callback url.
b. Add gitalk js and css in your page.